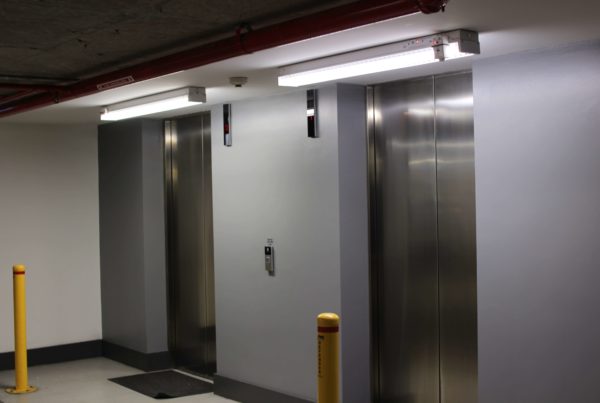
Emergency lighting is wired to the building’s power supply for continuous charging of internal batteries to provide back up power for the lighting. This ensures that lights remain alight during a power outage allowing occupants to easily locate the exits should they need to evacuate the building.
Australian Standard AS 2293 requires that emergency lighting is designed to provide light for a minimum of 90 minutes during a power outage, AS 2293 set outs the requirements for the design, installation, operation and testing of emergency lighting to ensure building safety in Australia. Read on to learn more about the

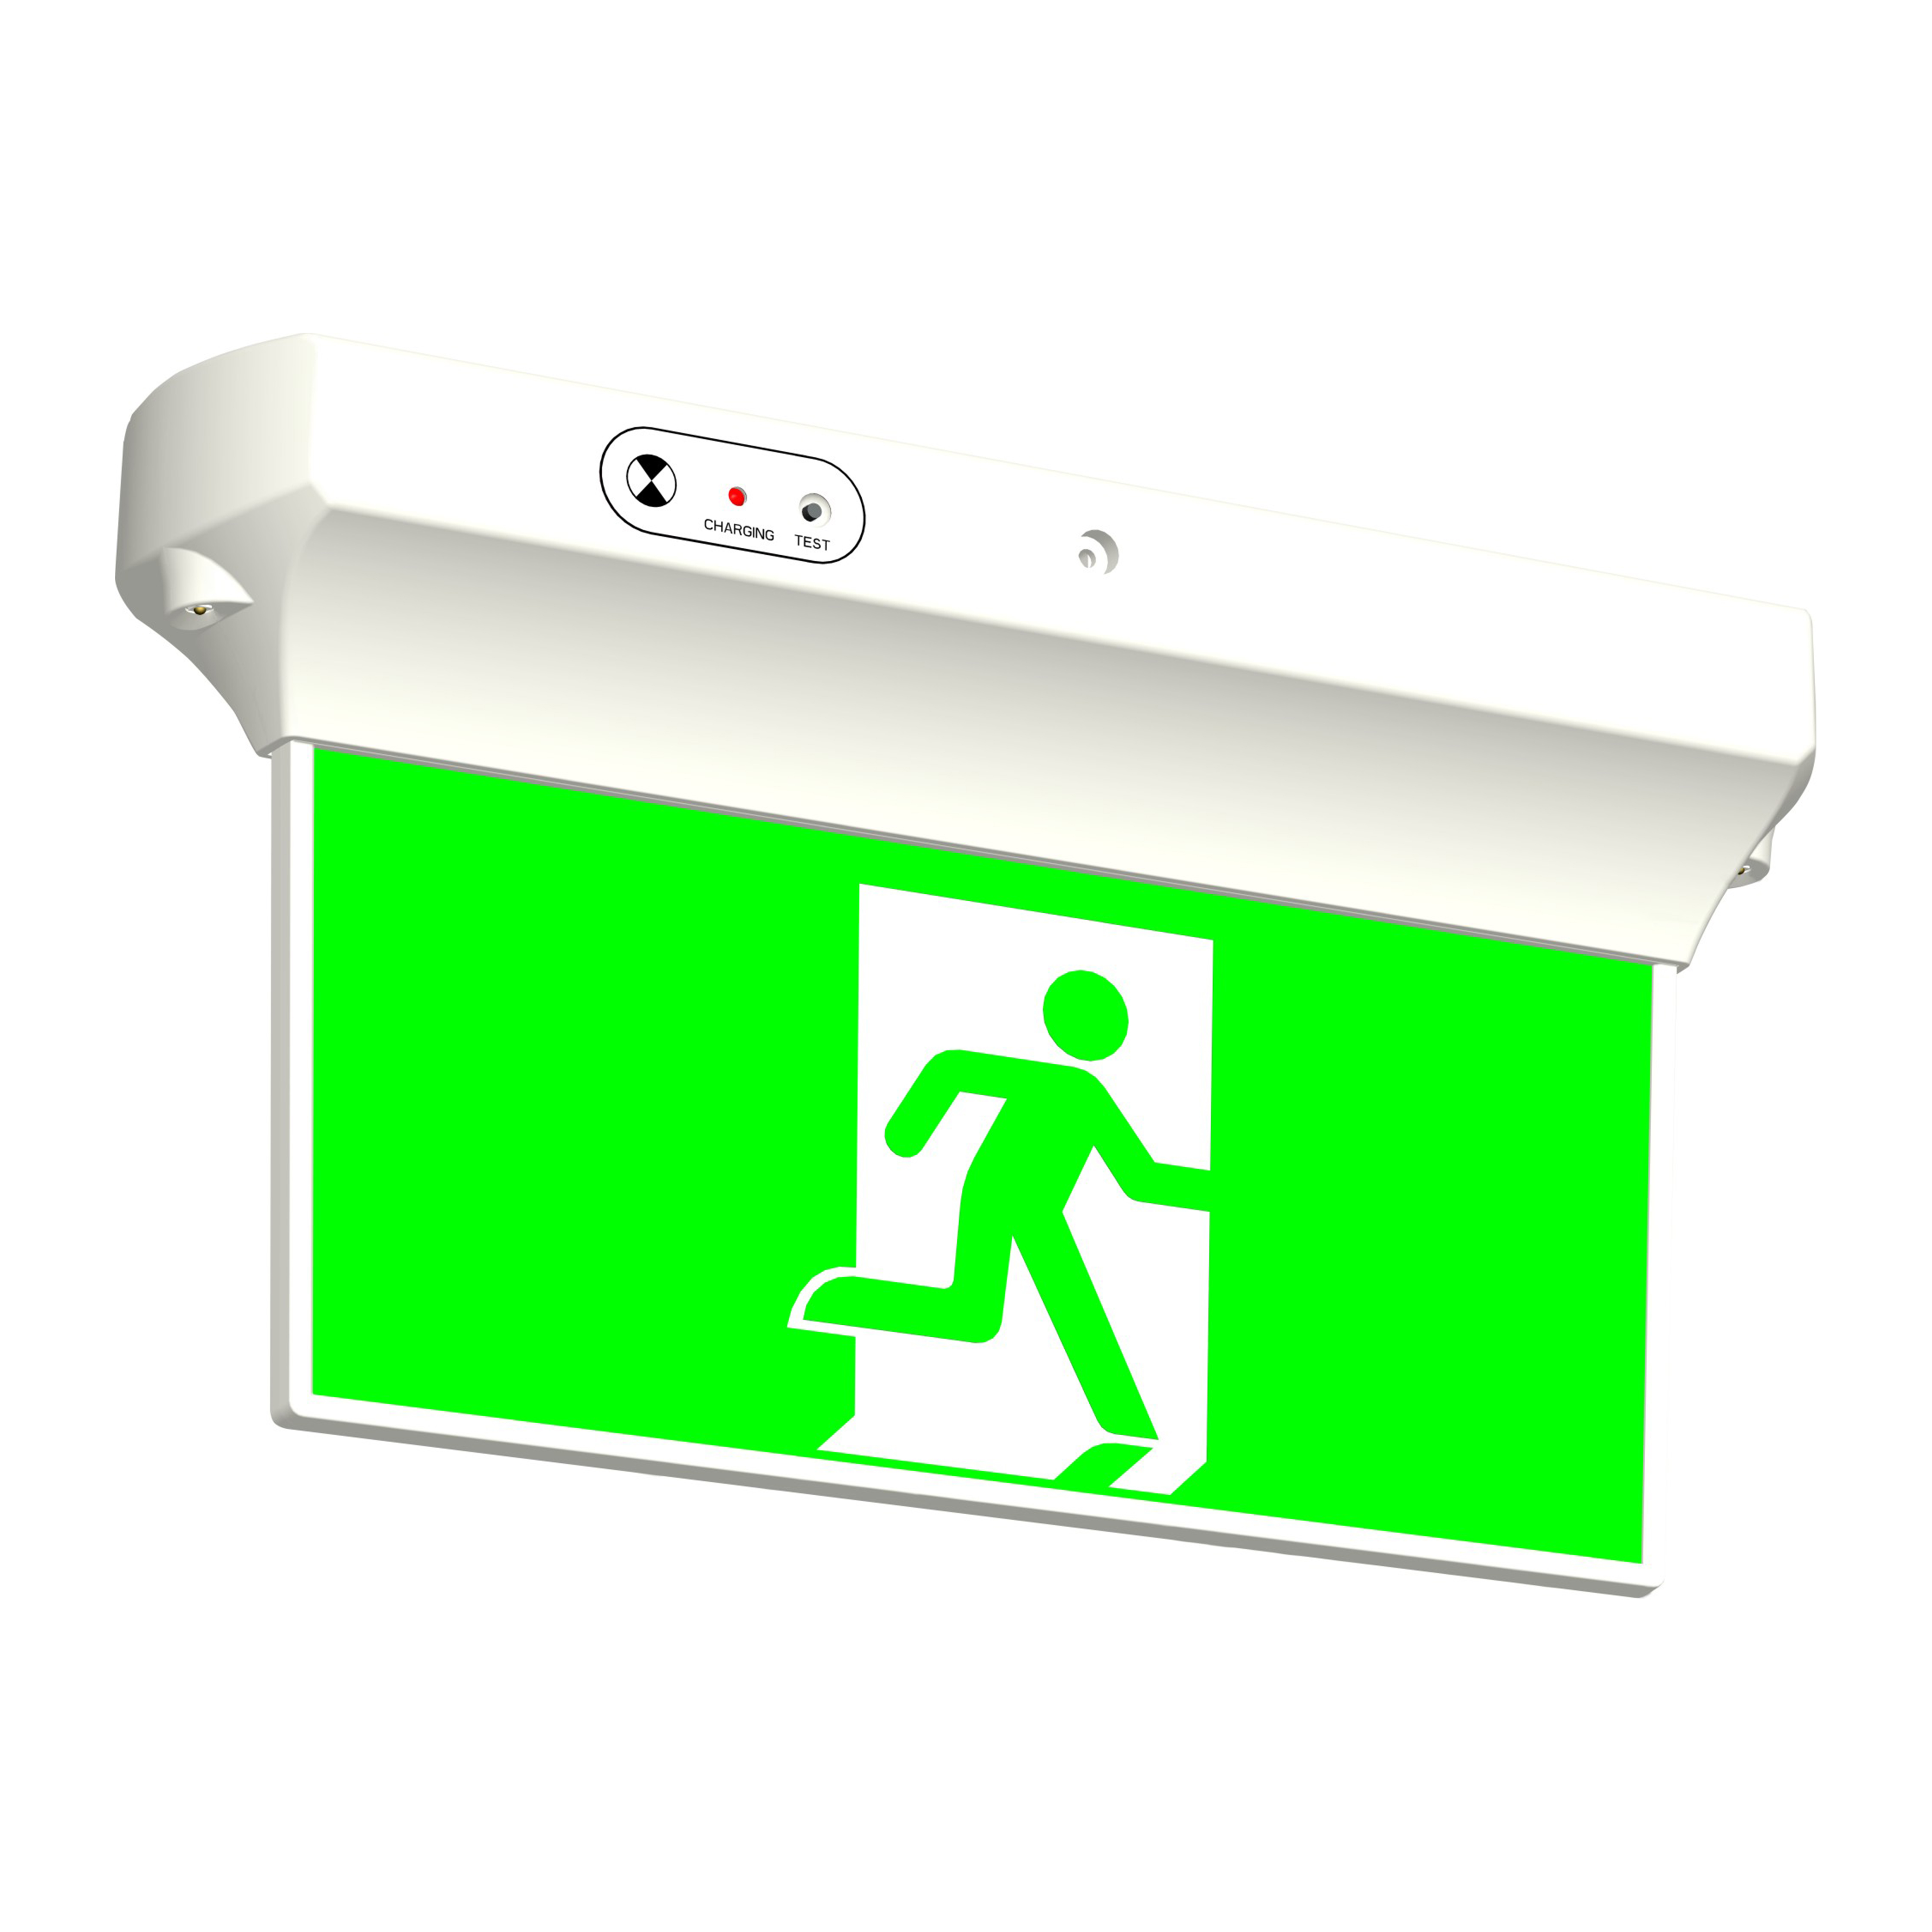
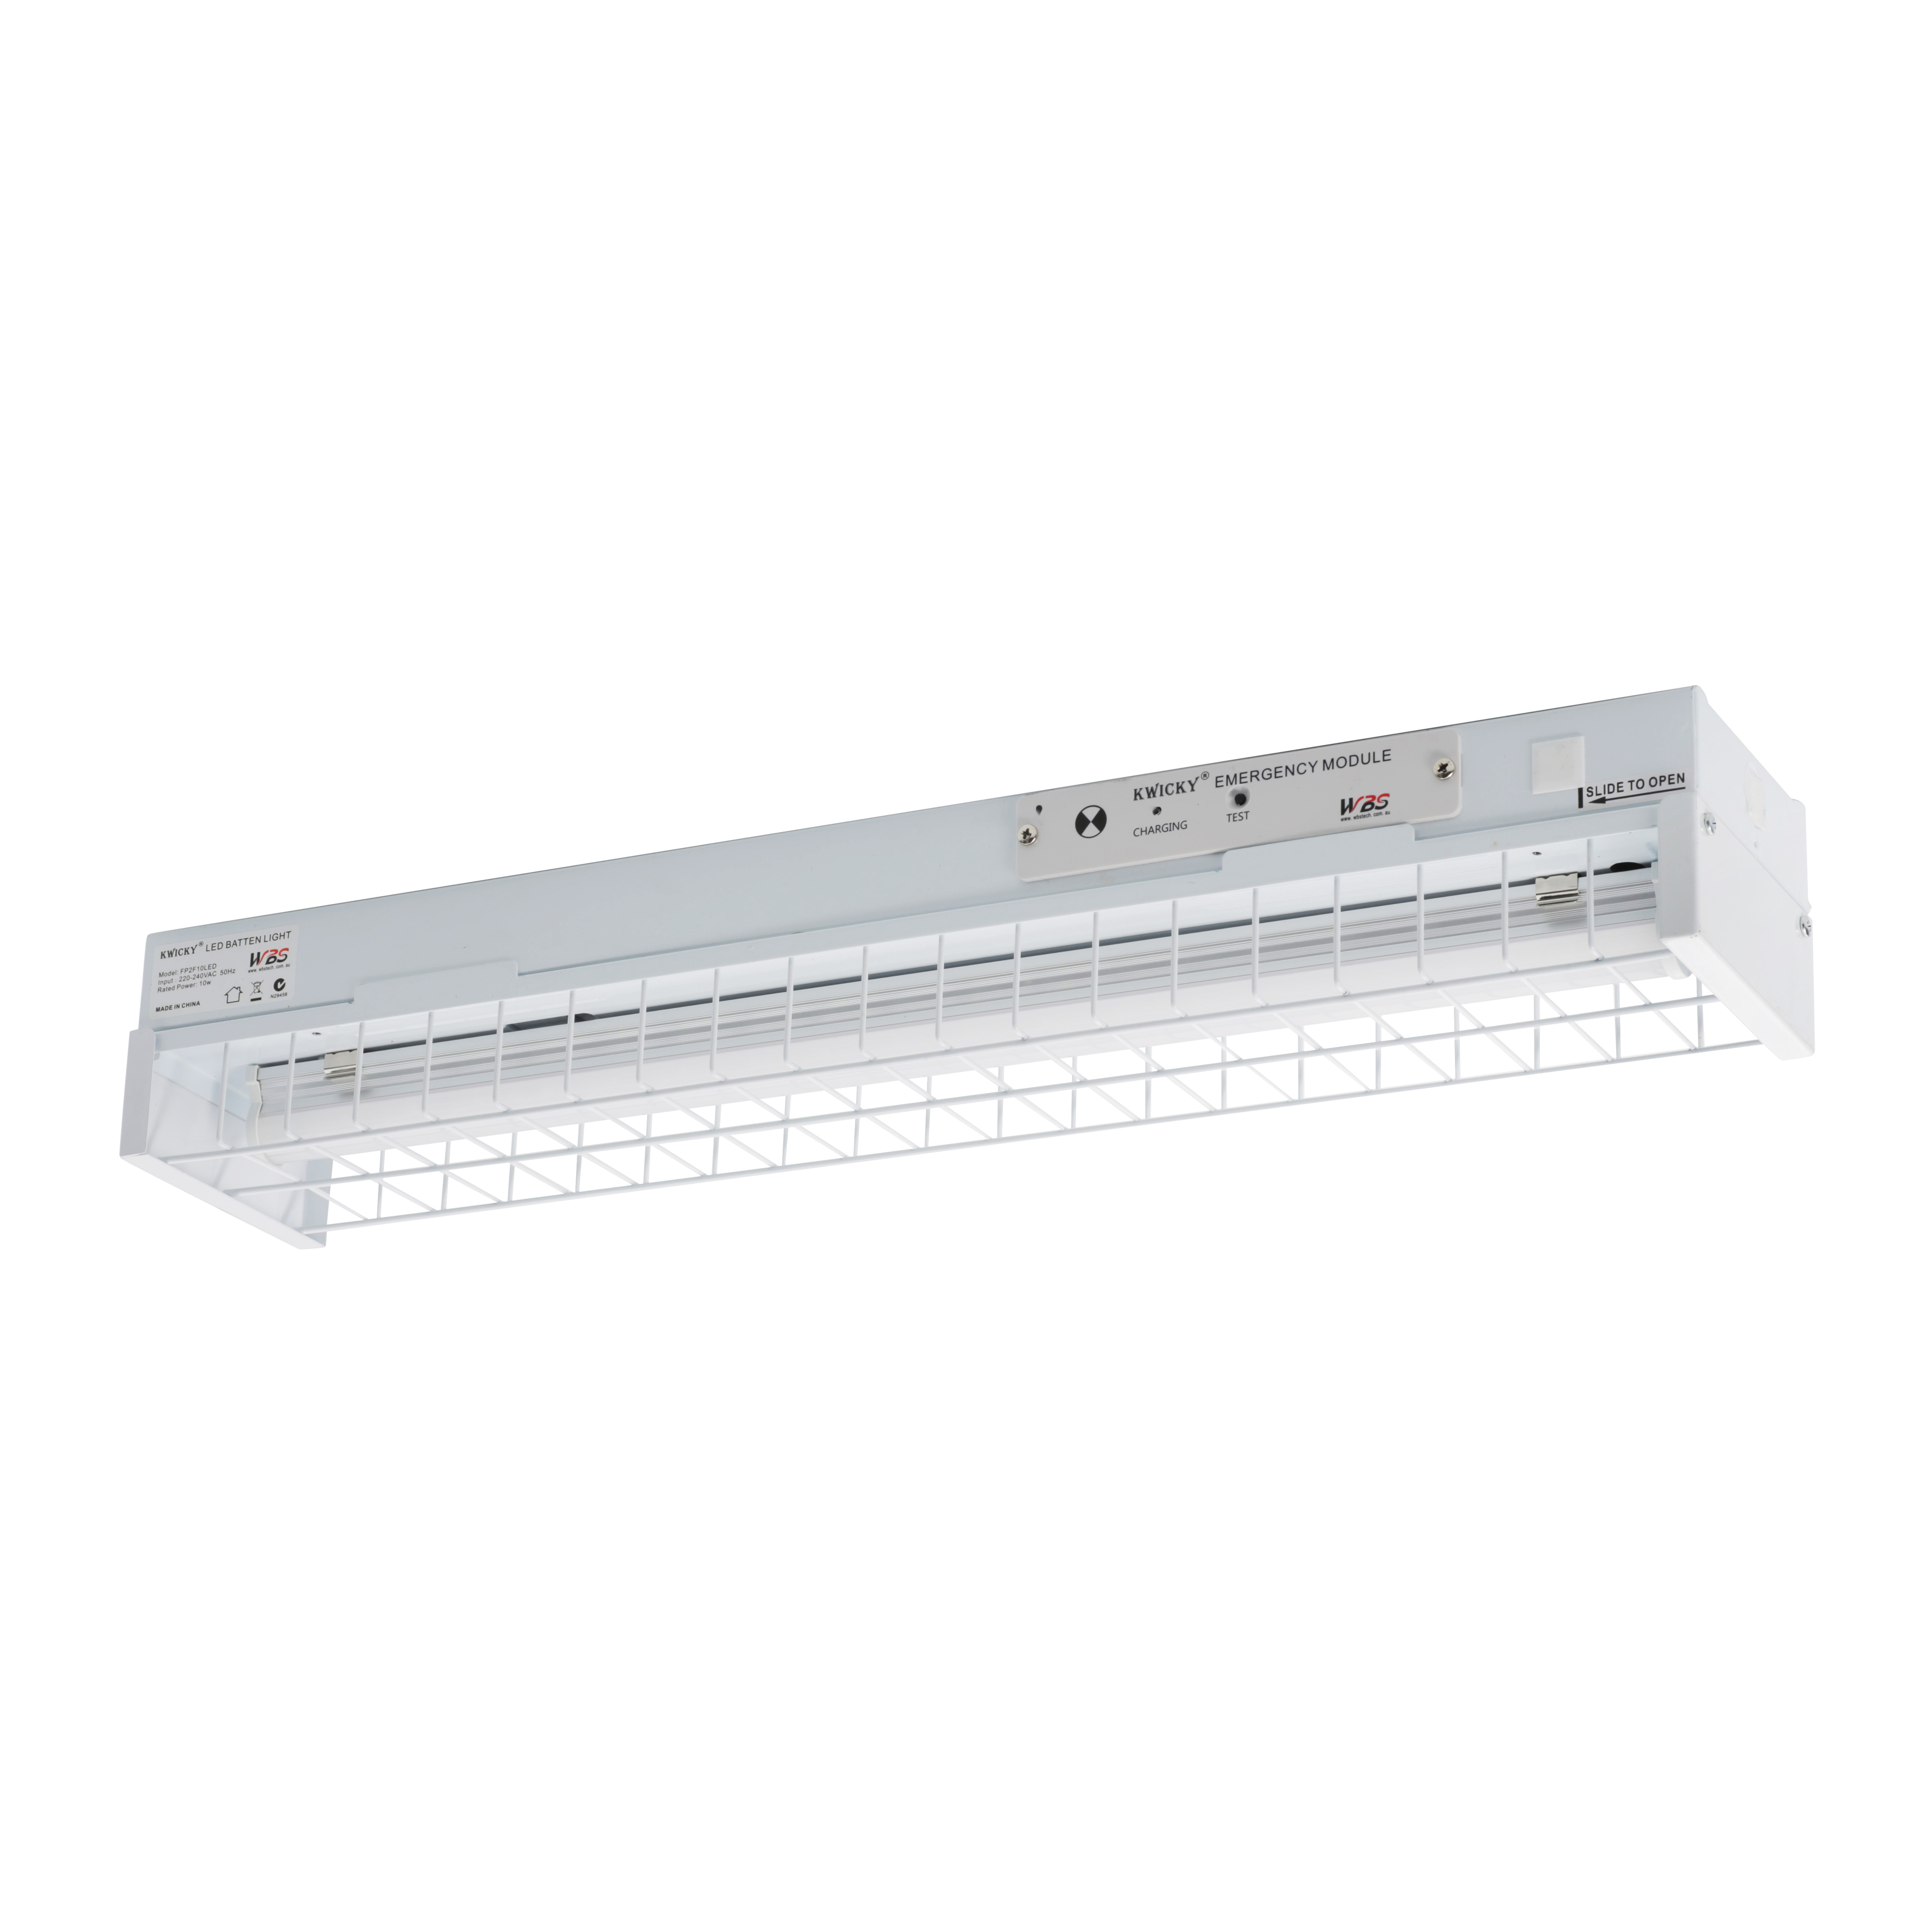
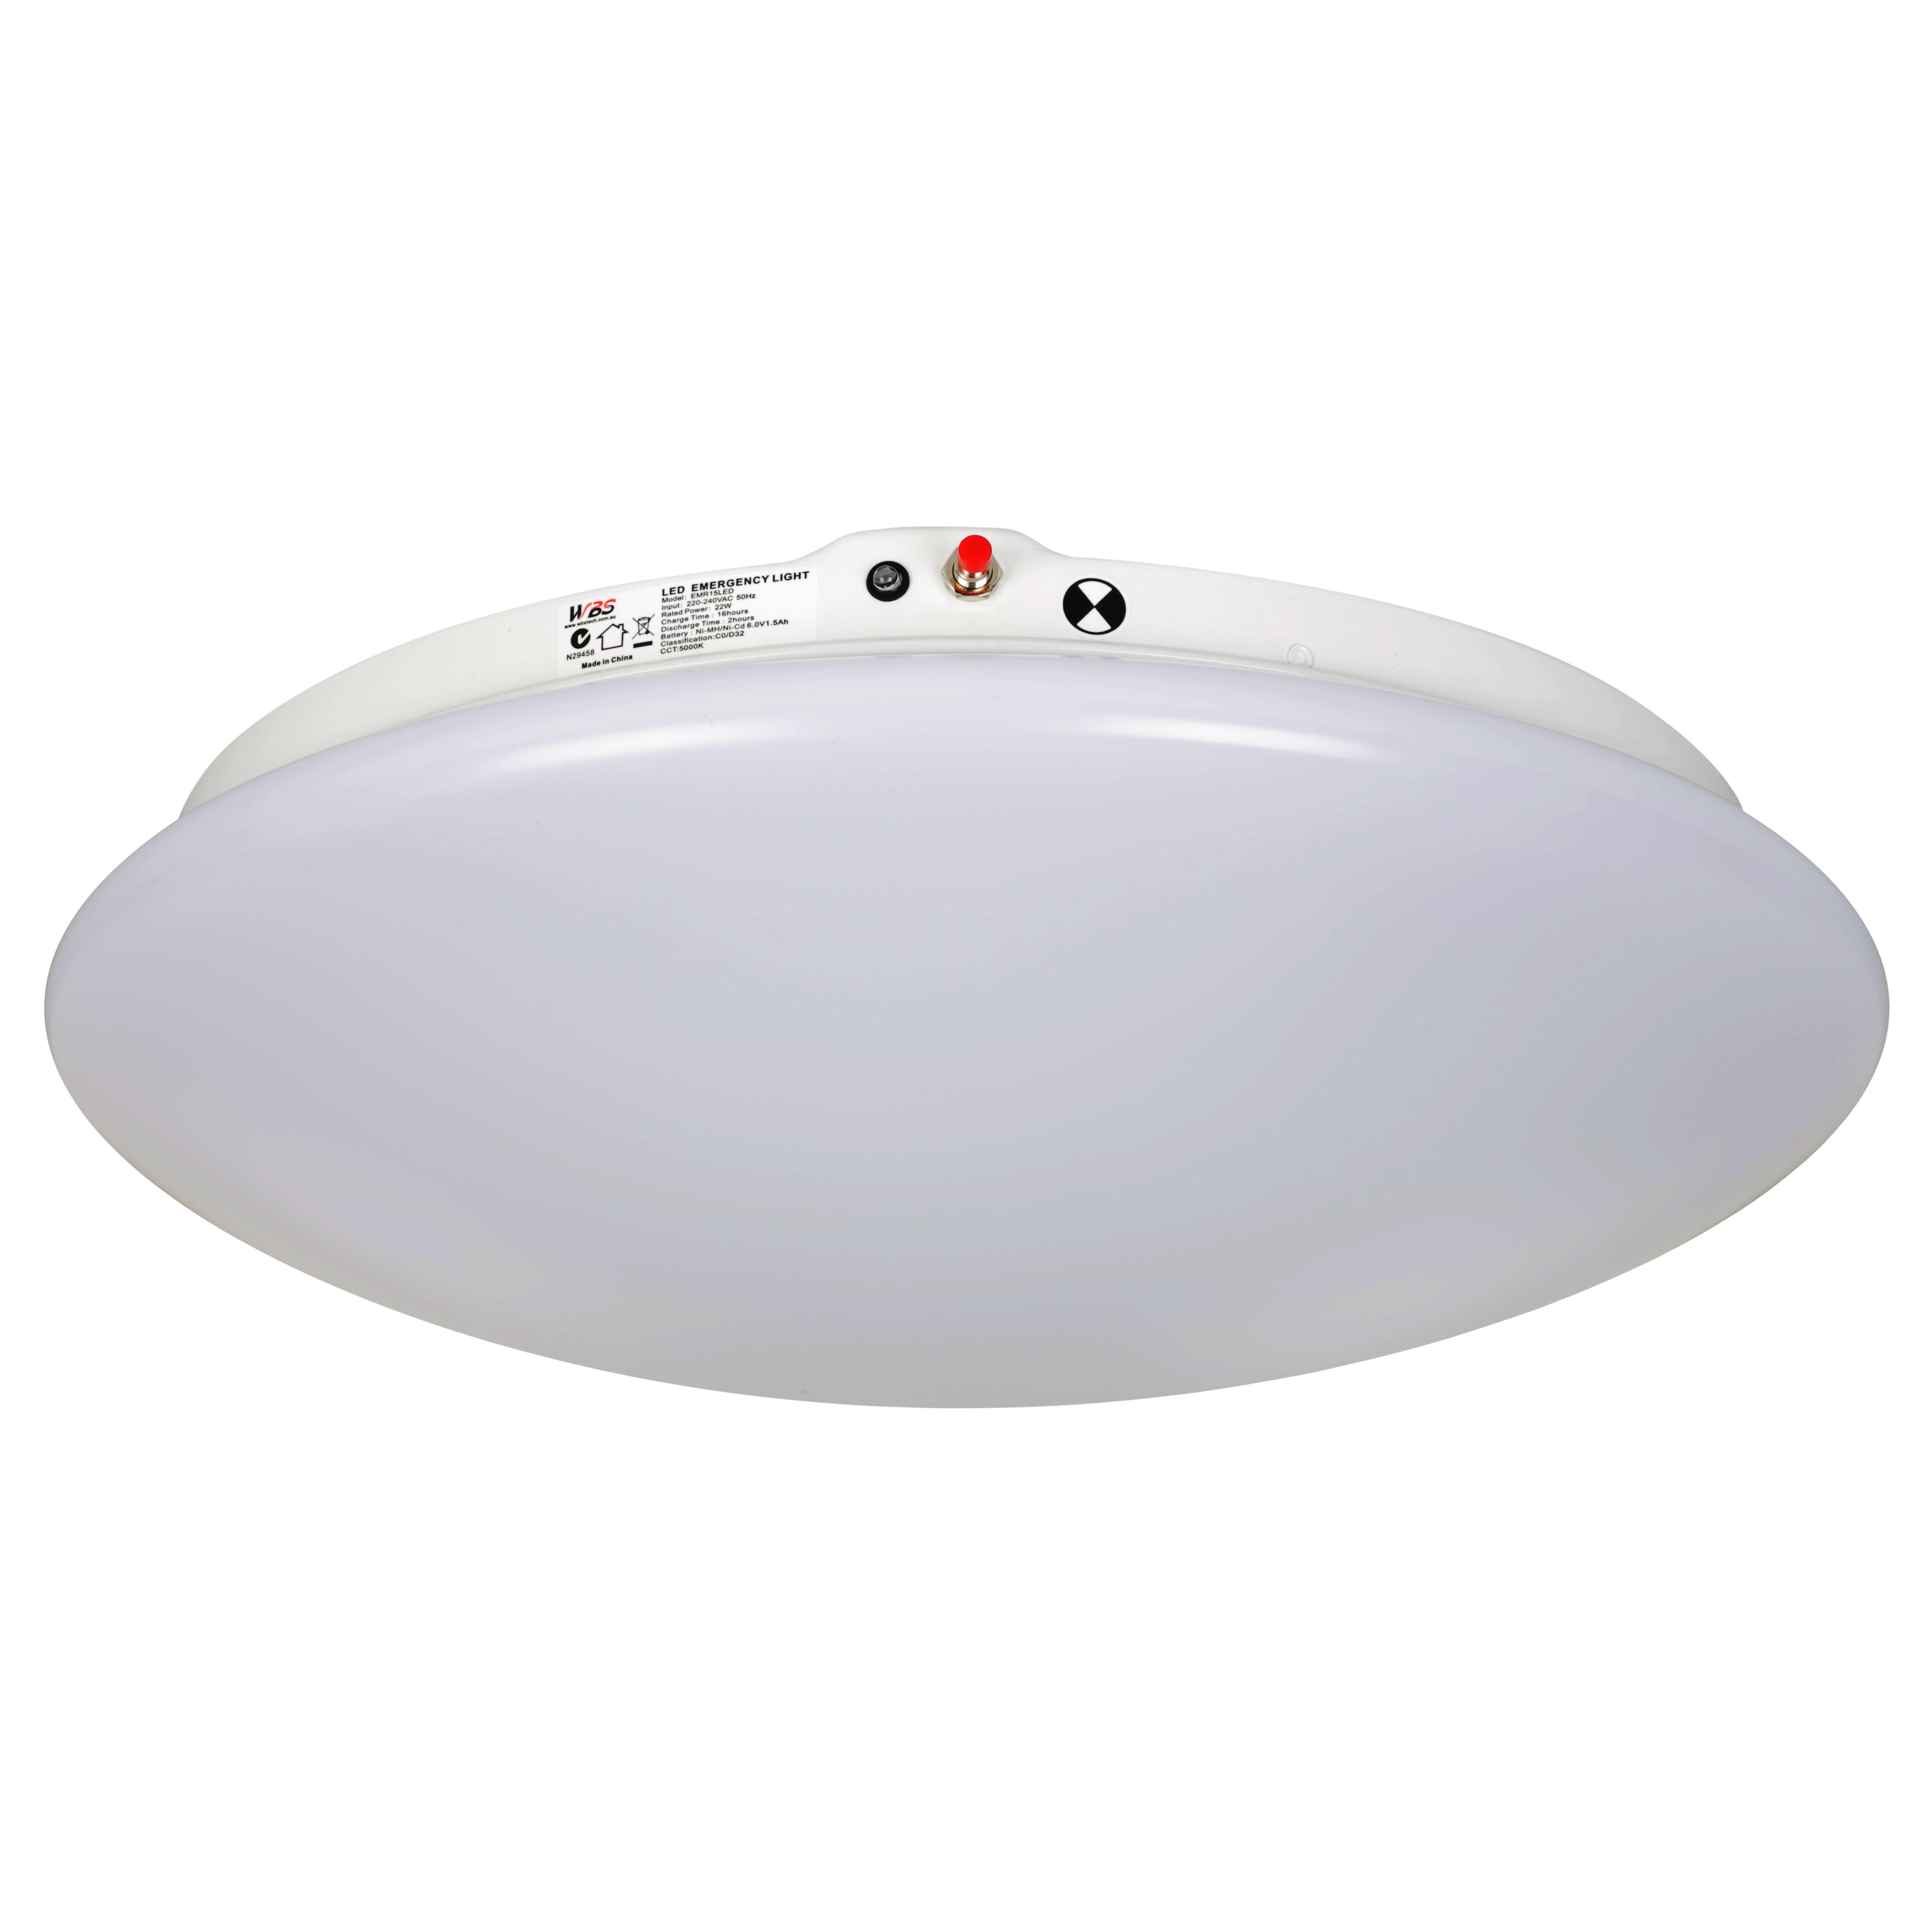
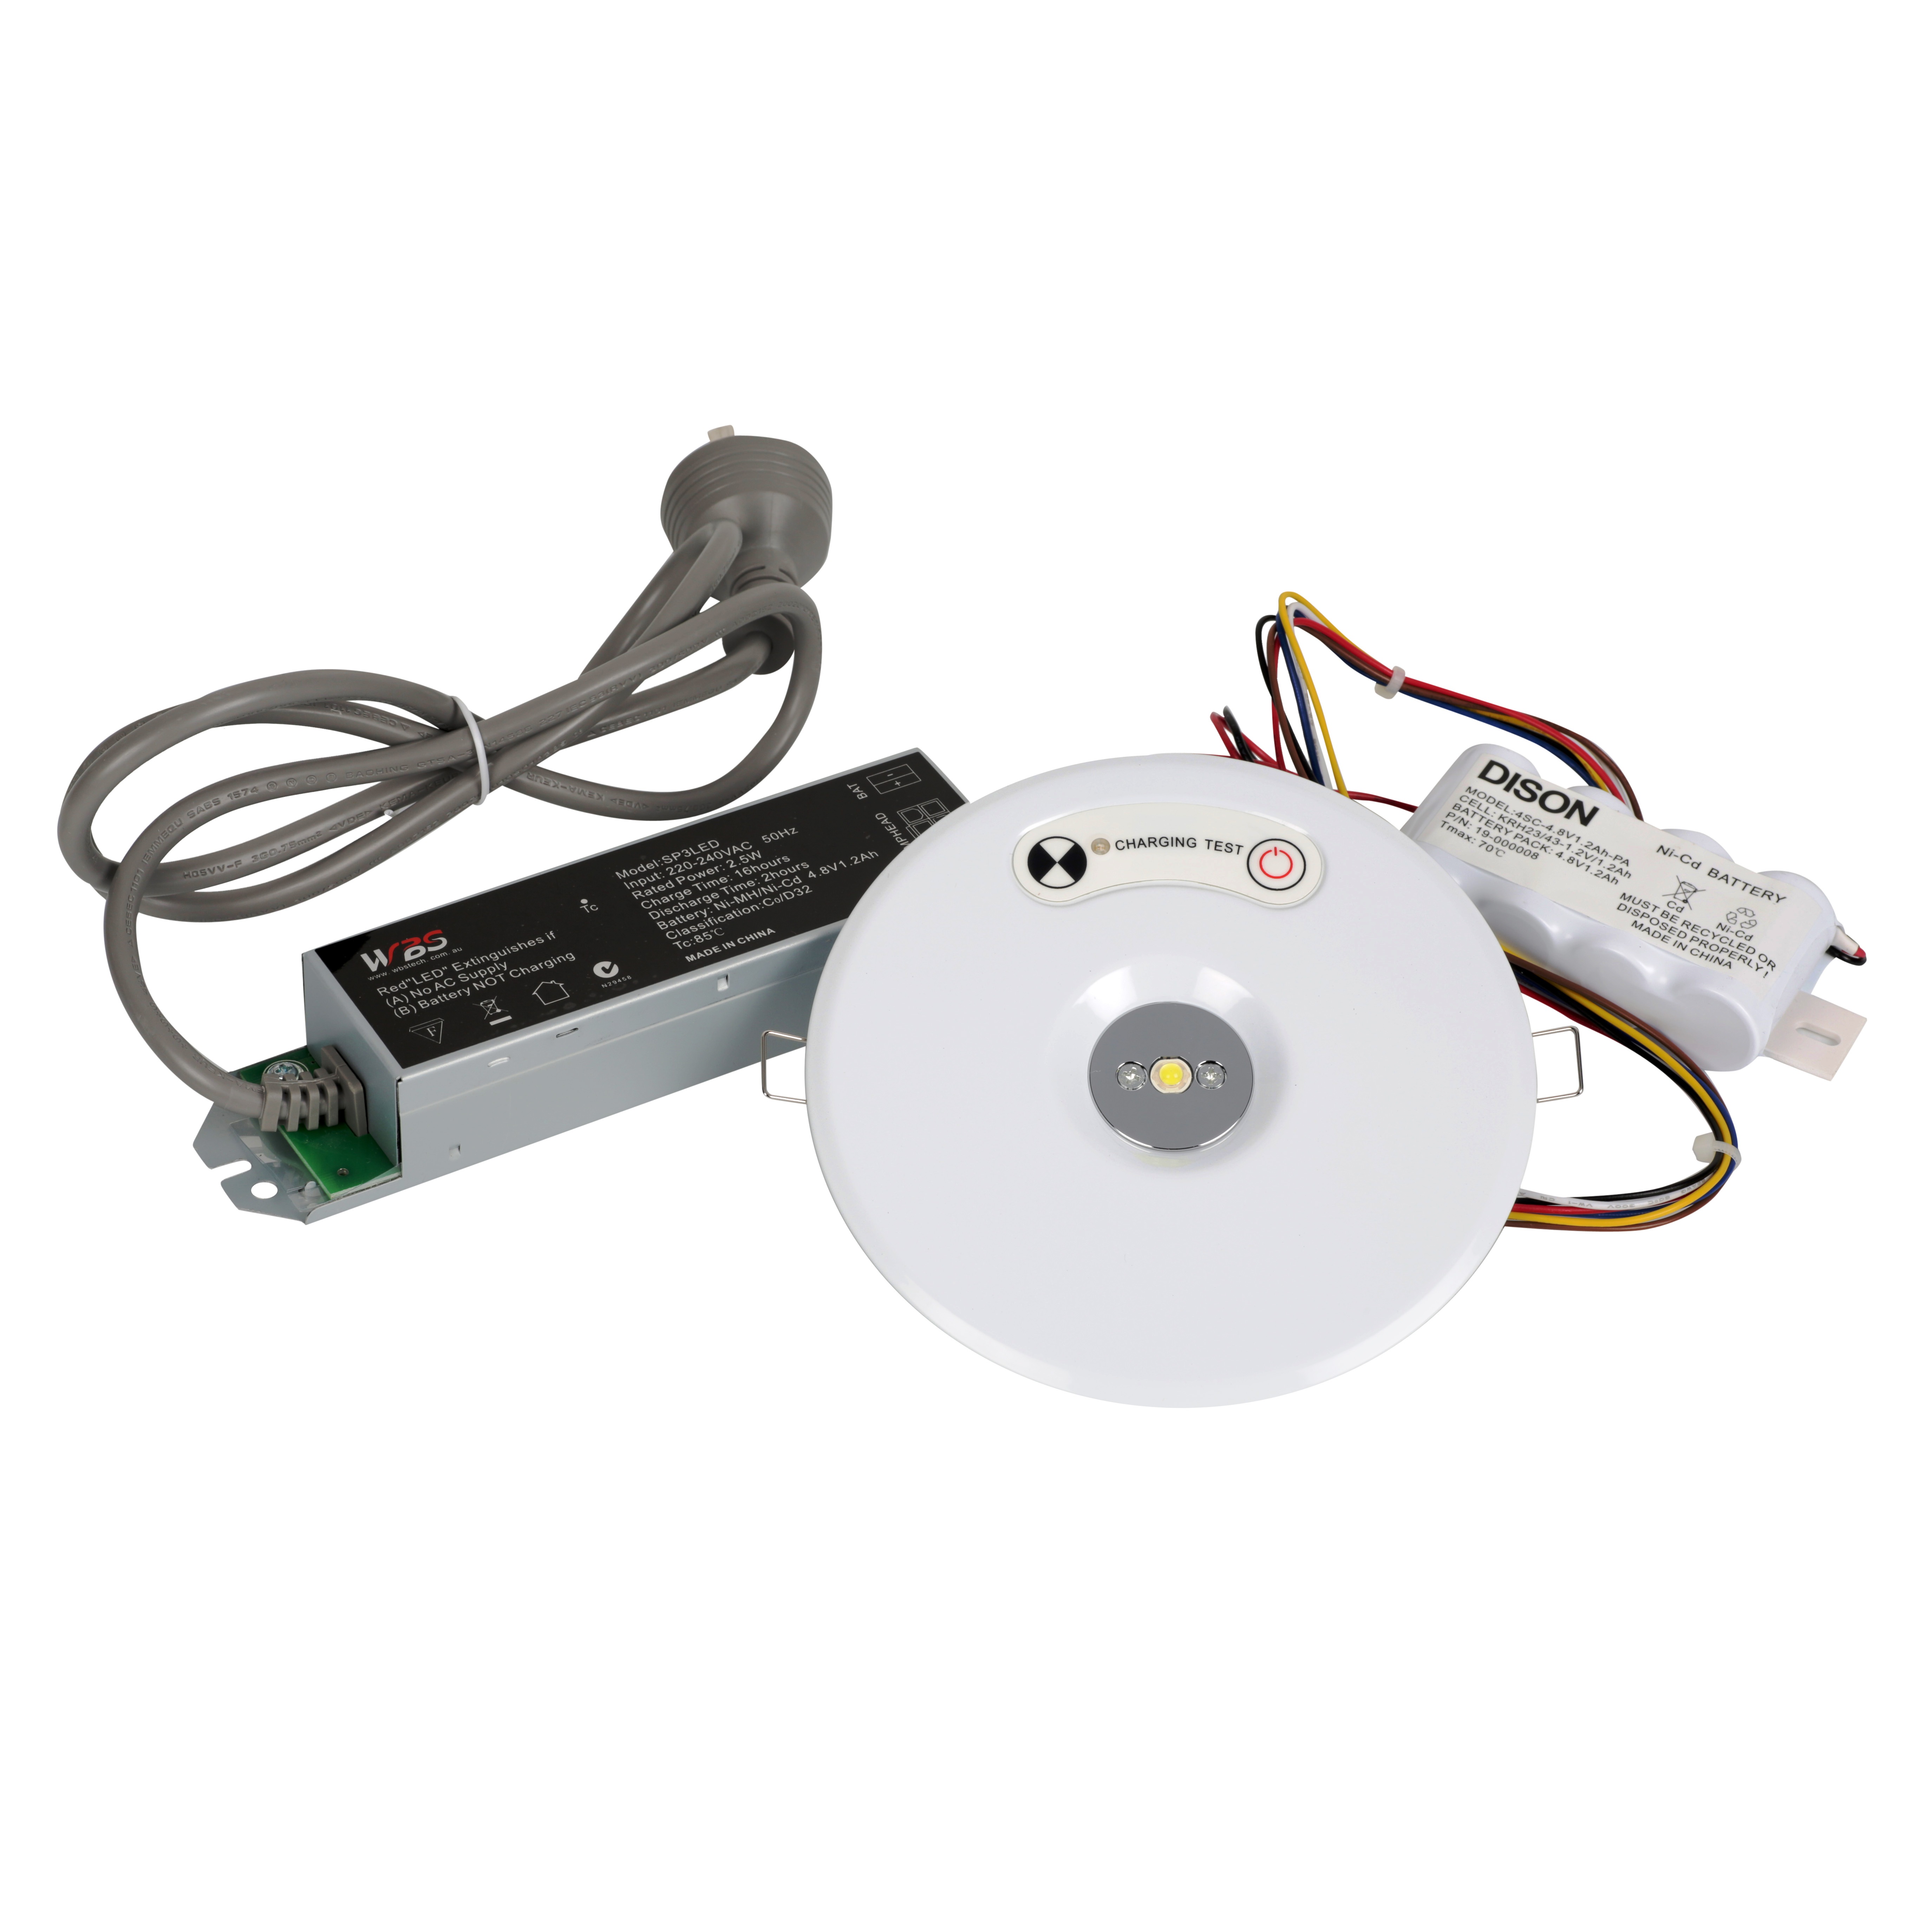
Emergency Light Components
- LED – The LED chip emits light when powered up.
- Test Button – The test button allows professionals to simulate a power outage to test the operation of the light.
- Battery – The emergency light battery is where power is stored for operation during power outages.
- Emergency Light Module – The emergency light module provides the light with all the operations required for the supplying power and charging the light fitting.
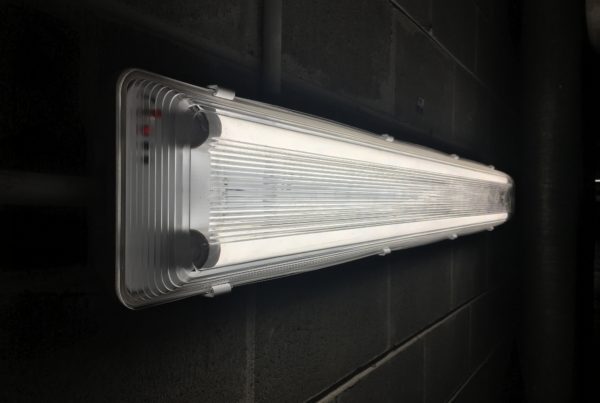
- Housing – The emergency light housing is often made in various materials and shapes for different environments and applications.
- Charging Indicator – Emergency light charging indicator is a red LED light that indicates that the light fitting is actively being charged.
- Emergency Light Indicator Symbol – This symbol indicates that the light fitting is an emergency light as set out in AS2293.
Types of Emergency Lighting
There is a wide range of emergency light fittings available, and they are often categorised in many different ways including how they operate, where they are used and the technology used.
Emergency Lighting Form Factors:
Operation Types:
- Maintained – In the maintained operation mode the emergency lights are illuminated permanently.
- Non-Maintained – In the non-maintained operation mode the emergency lights only illuminate when the power supply is lost or when controlled by a light switch.
Battery Technologies:
There are many different battery technologies that can be found in emergency lighting products. The main battery technologies are:
The three factors that have contributed to the advancement and evolution of the technologies used are:
- Safety
- Performance
- Environment Impact
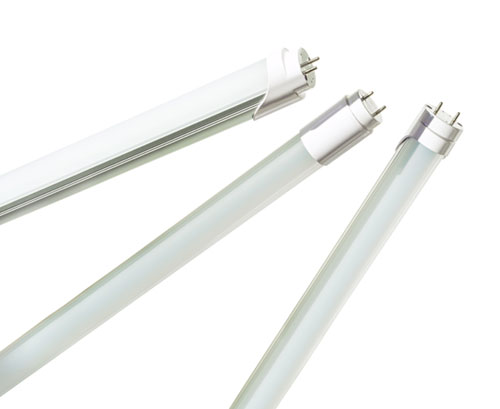
Lamp Technologies:
There are two main lamp technologies used in modern emergency lighting products:
LED
LED offers the end-customer with the highest light output with the lowest power consumption and longest average product lifespan for long term cost savings.
Fluorescent
Available in a variety of sizes, fluorescent lamps are inexpensive lamps with higher power consumption and a shorter product lifespan.
Learn more about the benefits and weaknesses of LED and fluorescent lamps here: LED vs fluorescent emergency lighting technology
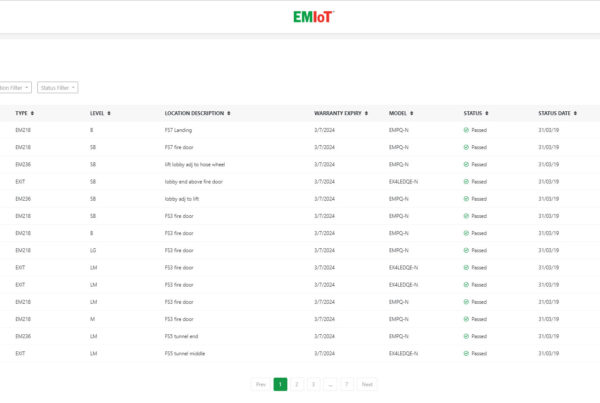
Emergency Lighting Testing Systems:
There are three main types of testing technologies available in the Australia Emergency Lighting market.
Traditional Testing
Traditional fittings require the technician to test the fitting by powering down the circuit. The technician then waits 90 minutes and inspects each light fitting to ensure it is still operating.
Self-Testing Products
Self-testing products perform automatic routine testings which allow the technicians to collect the rest result quickly and without causing disruption from power down the circuit.
Networked Products
Networked light fittings perform routine tests automatically and report the results to a central unit or to the internet. Learn more about the EMIoT network emergency lighting solution here.
Click here to learn more about Emergency Light testing.
Emergency Lighting Classifications:
A minimum light level of 0.2 lux is required at floor level under emergency lighting conditions. Therefore, emergency light fittings are tested and assigned classifications to ensure the light level is achieved based on the ceiling height and distance between each fitting.
Based on performance, the lights are assigned some classes from A to E and are generally classified by the axes as light distribution is not symmetrical in all light fittings.
The Australian Standards AS2293 includes tables which indicate the spacing requirements for each classification of light fitting based on the ceiling height.
For example, WBS Emergency Batten Lights with a PC diffuser have the emergency classification of C0/D50 and C90/C50. Therefore with a ceiling height of 2.4 metres, each fitting will need to be spaced 18.7 metres on the C0 axis and 12 metres on the C90 axis.